Month: May 2023

SOUNDS BROKEN. Most likely sir, I bet it was something nice though.

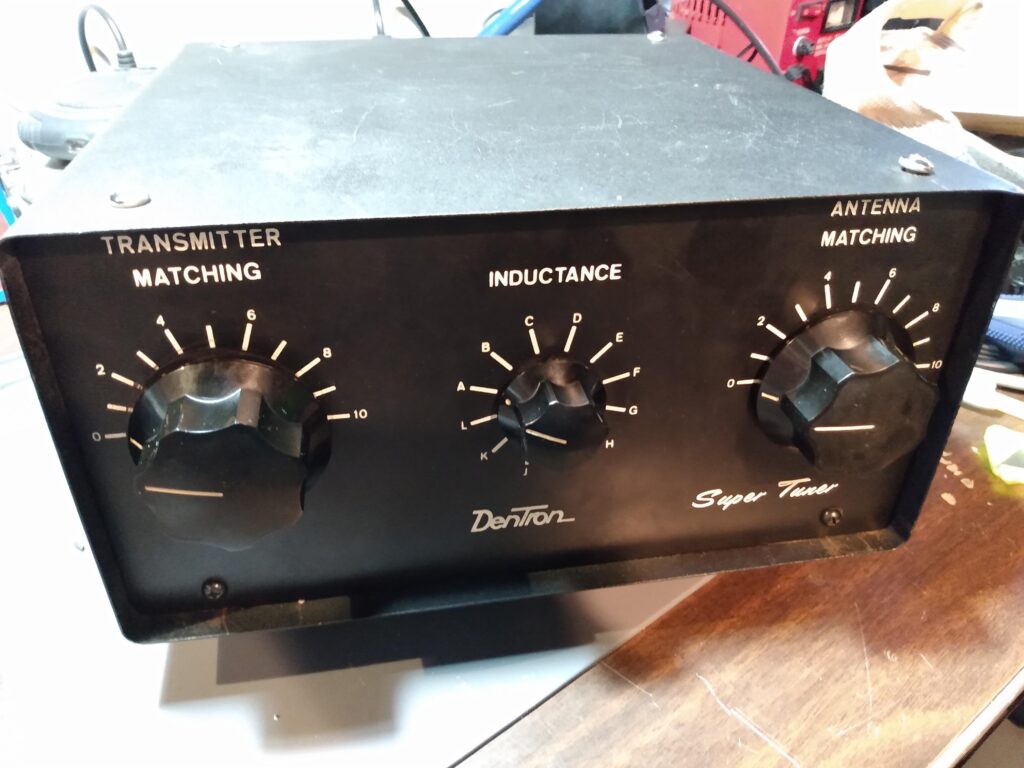
A few months ago I bought a 1KW Dentron Super Tuner antenna tuner from a friend.  I didn’t really have a need for it, and these tuners lack modern conveniences like roller inductors and meters, but they are well reviewed and regarded as very capable for QRO under 1000 watts.  I planned on bundling it with an amplifier at a hamfest, but it sold online before that could happen.  I have no problem with this, because I’m perpetually out of room to store unused gear, and less gear cluttering my shack is a Good Thing.

Actual footage

I had a busy Monday, and lots of packages to drop off at the post office.  As I hefted a large box of First Class Mail packages onto my shoulder, the box containing the tuner tumbled out of the backseat of the truck and hit the pavement with a BONK that could only be interpreted as catastrophic.  I figured out how to transmute an antenna tuner into maracas.

I sell a lot of stuff on the internet, and as the sales director of American Light and Fixture’s shower curtain ring division, it’s my job to make sure customers are happy or I don’t get paid.  I have the same philosophy when it comes to selling ham gear.  So my #1 ham radio priority was to fix this.

I contacted the buyer and explained the situation, and they were fine with the tuner being repaired, as long as it worked.  It turns out that dropping the tuner outside the post office may have been a blessing in disguise.

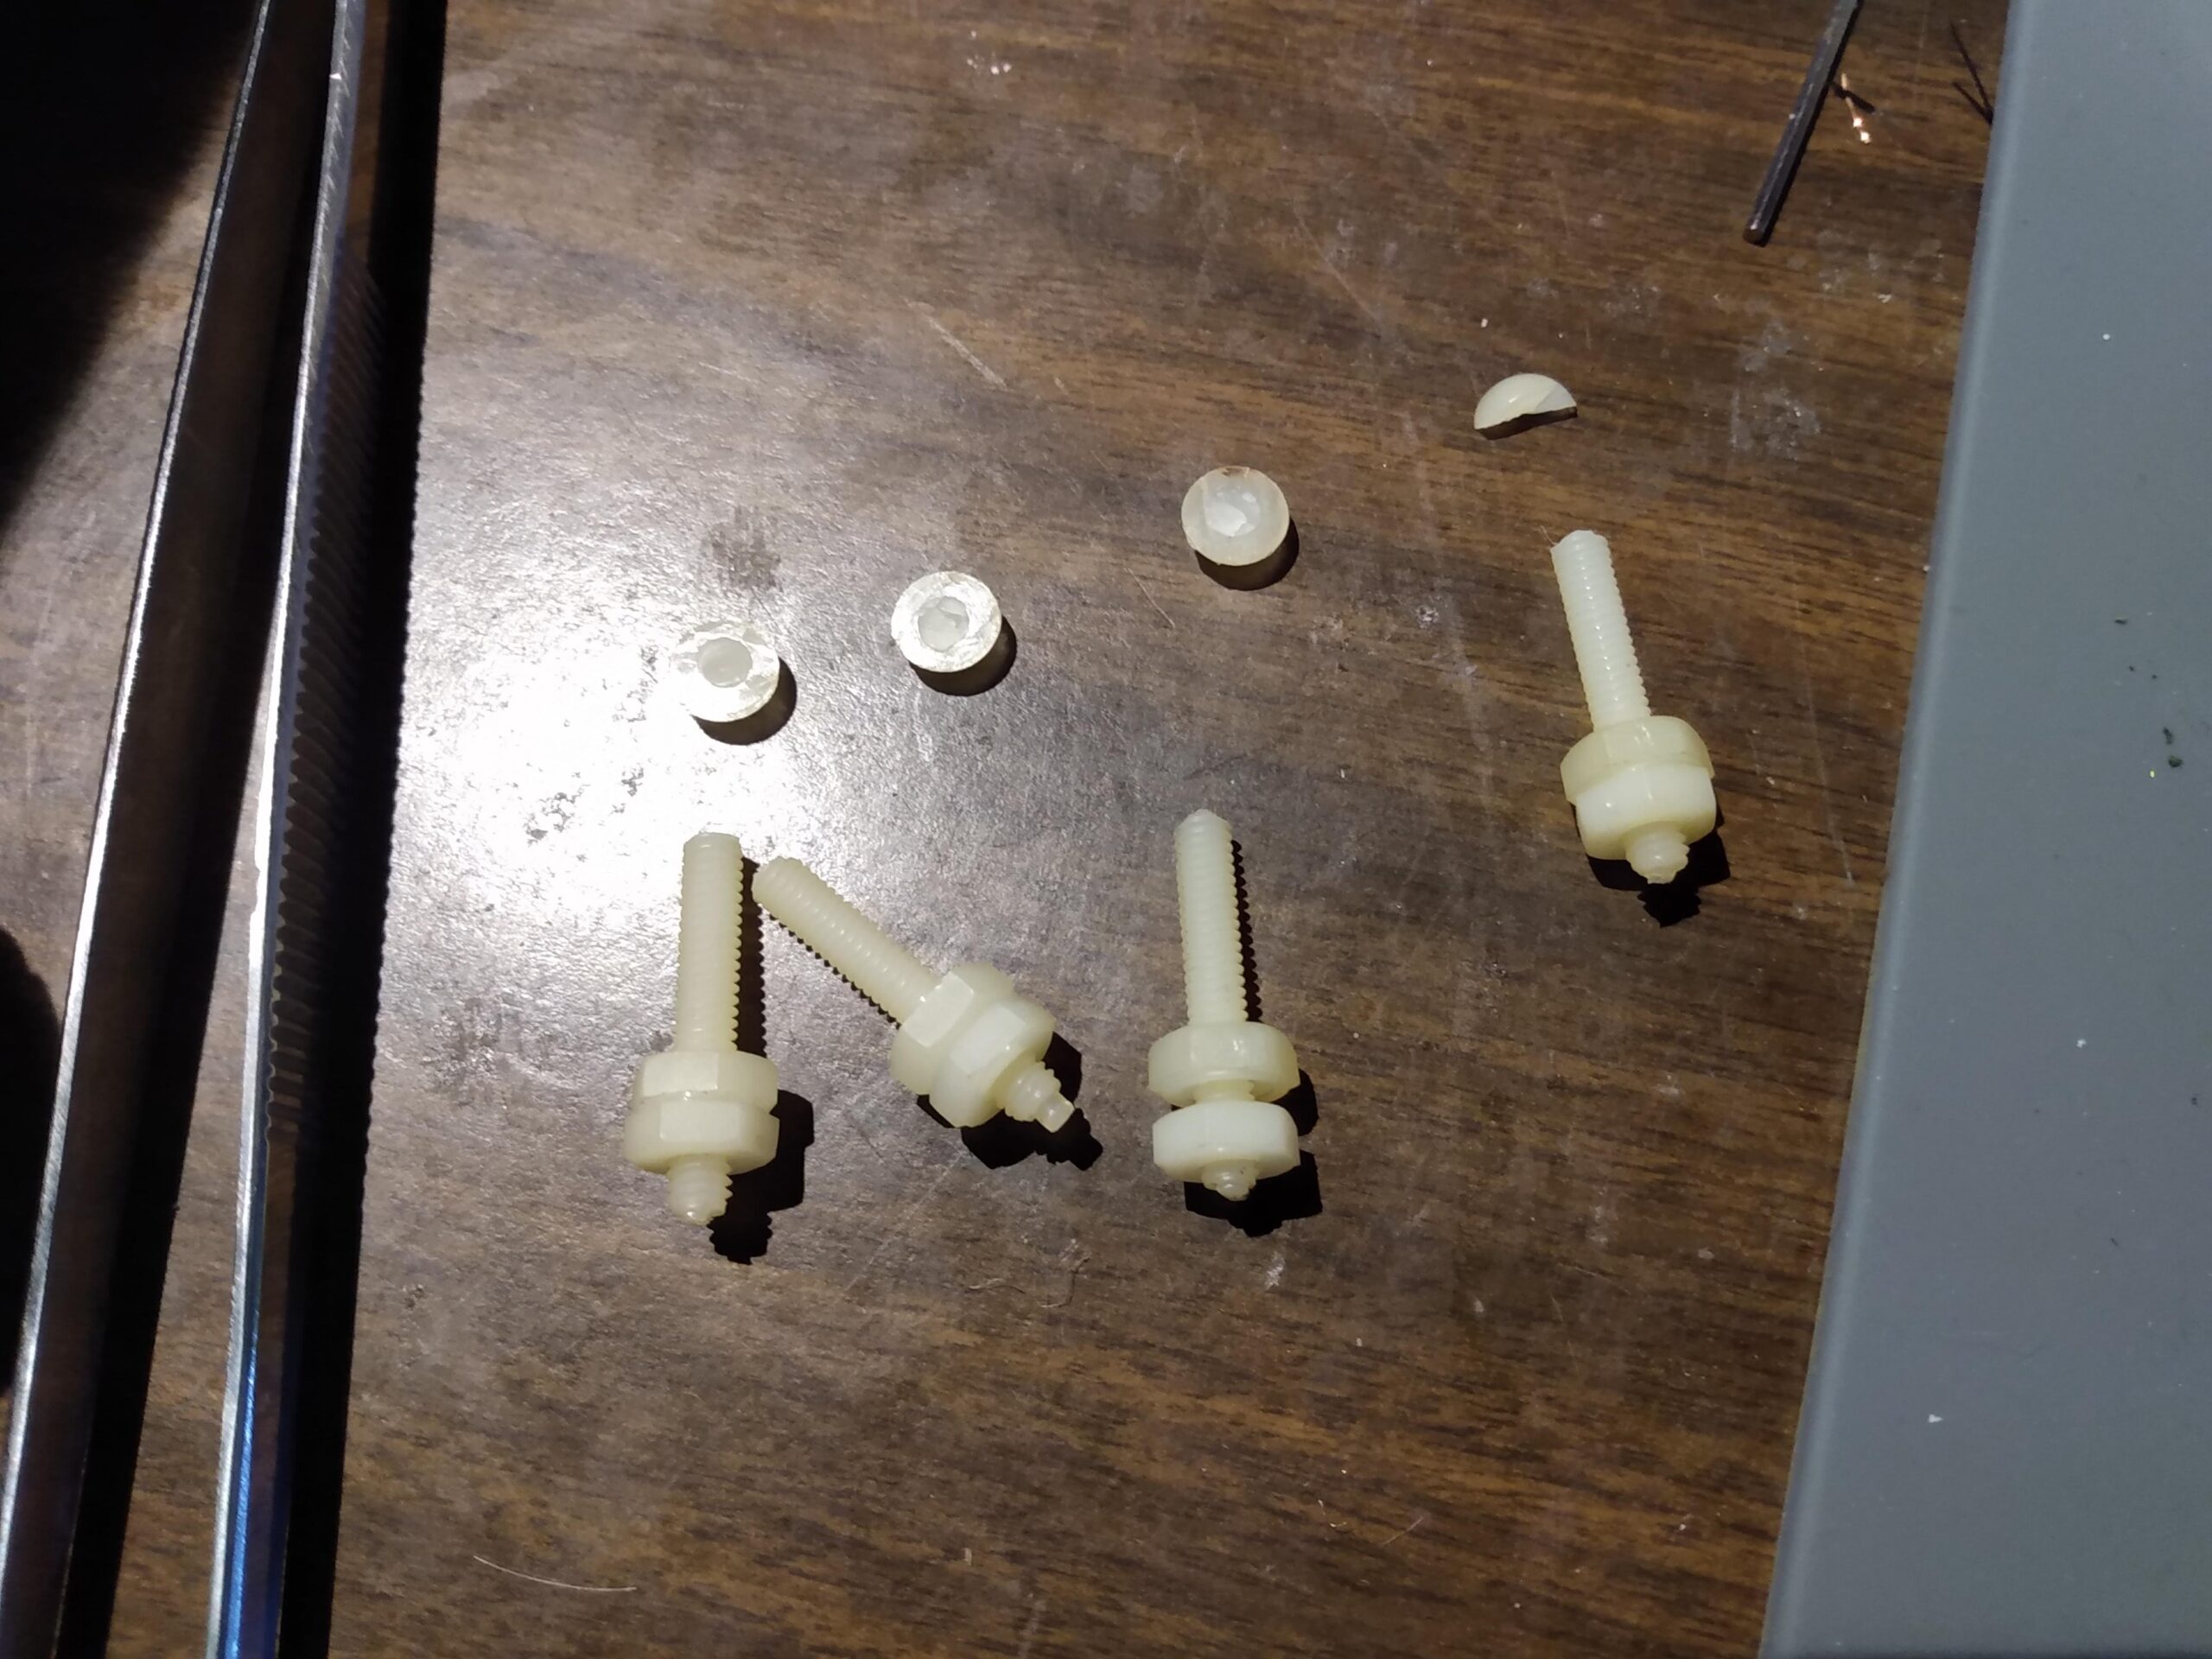
Electrically, the tuner was fine.  But the two air capacitors inside the Dentron Super Tuner are isolated from the chassis ground by two pairs of nylon spacers and nuts/bolts.  These bolts are what snapped when the tuner fell, and some light research concluded that this is a pretty common problem when shipping these Dentron tuners.  The tuner was at least 40 years old, and the bolts were dry and brittle.  Not surprising.

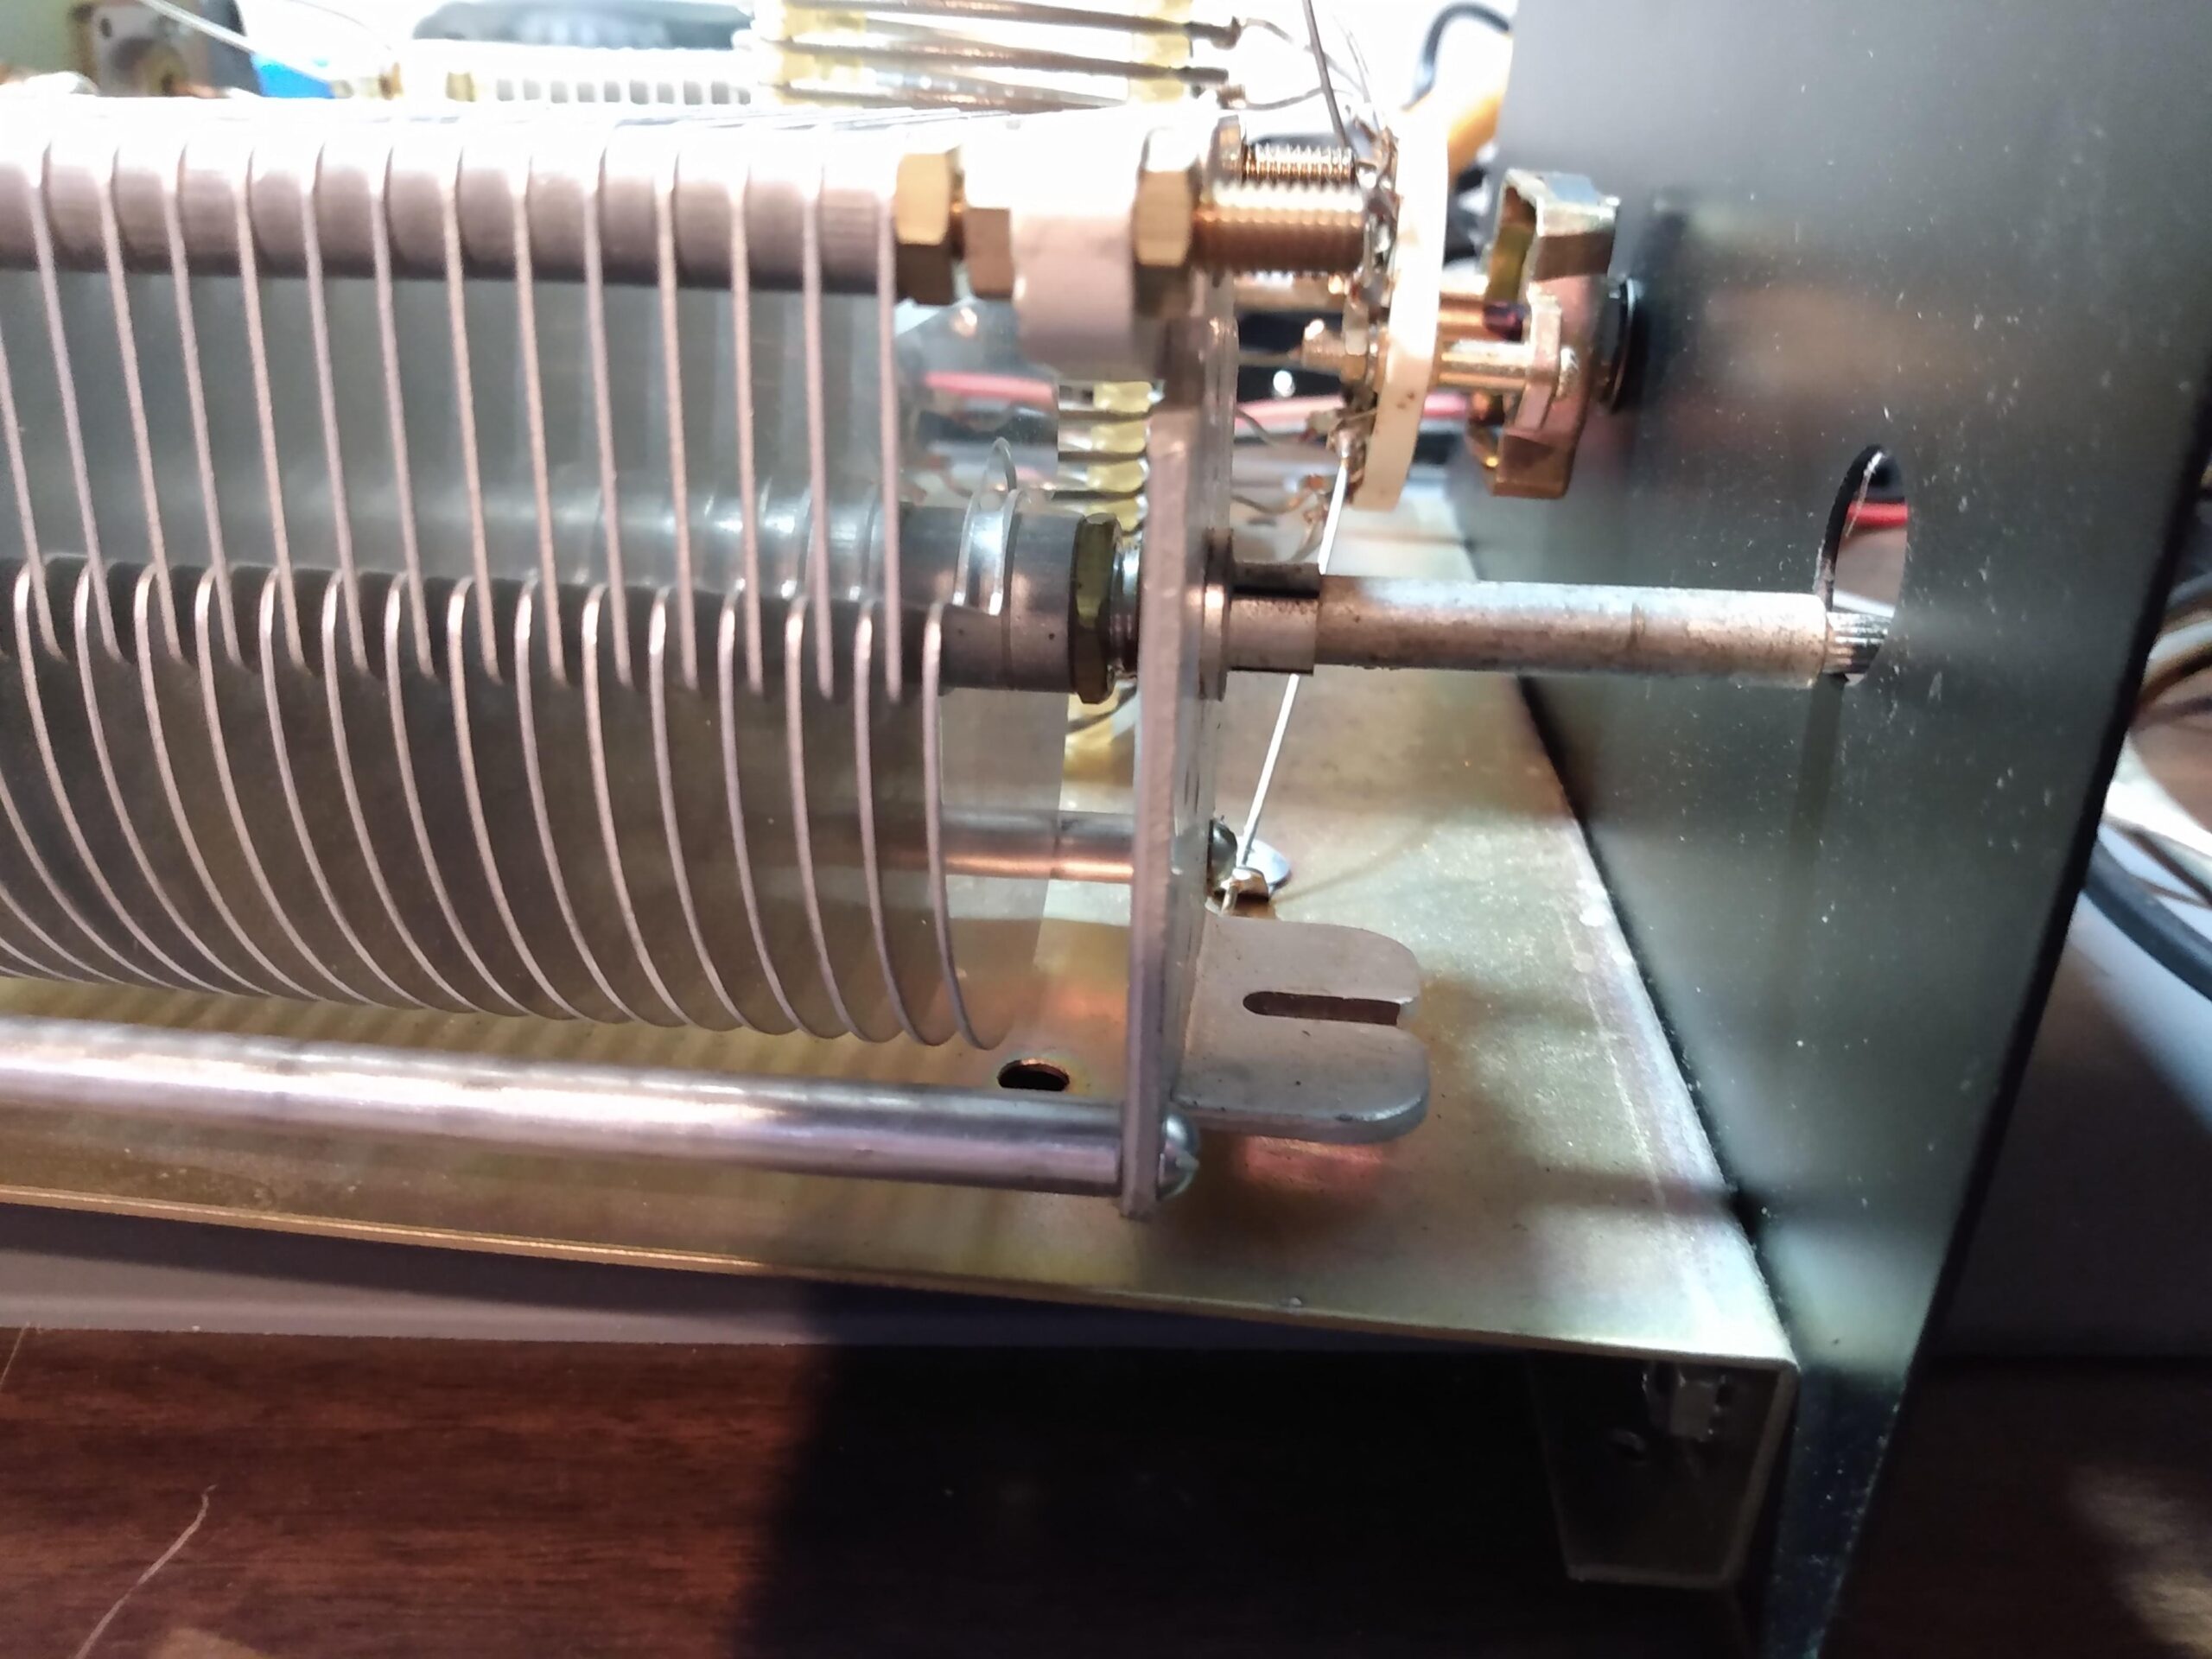
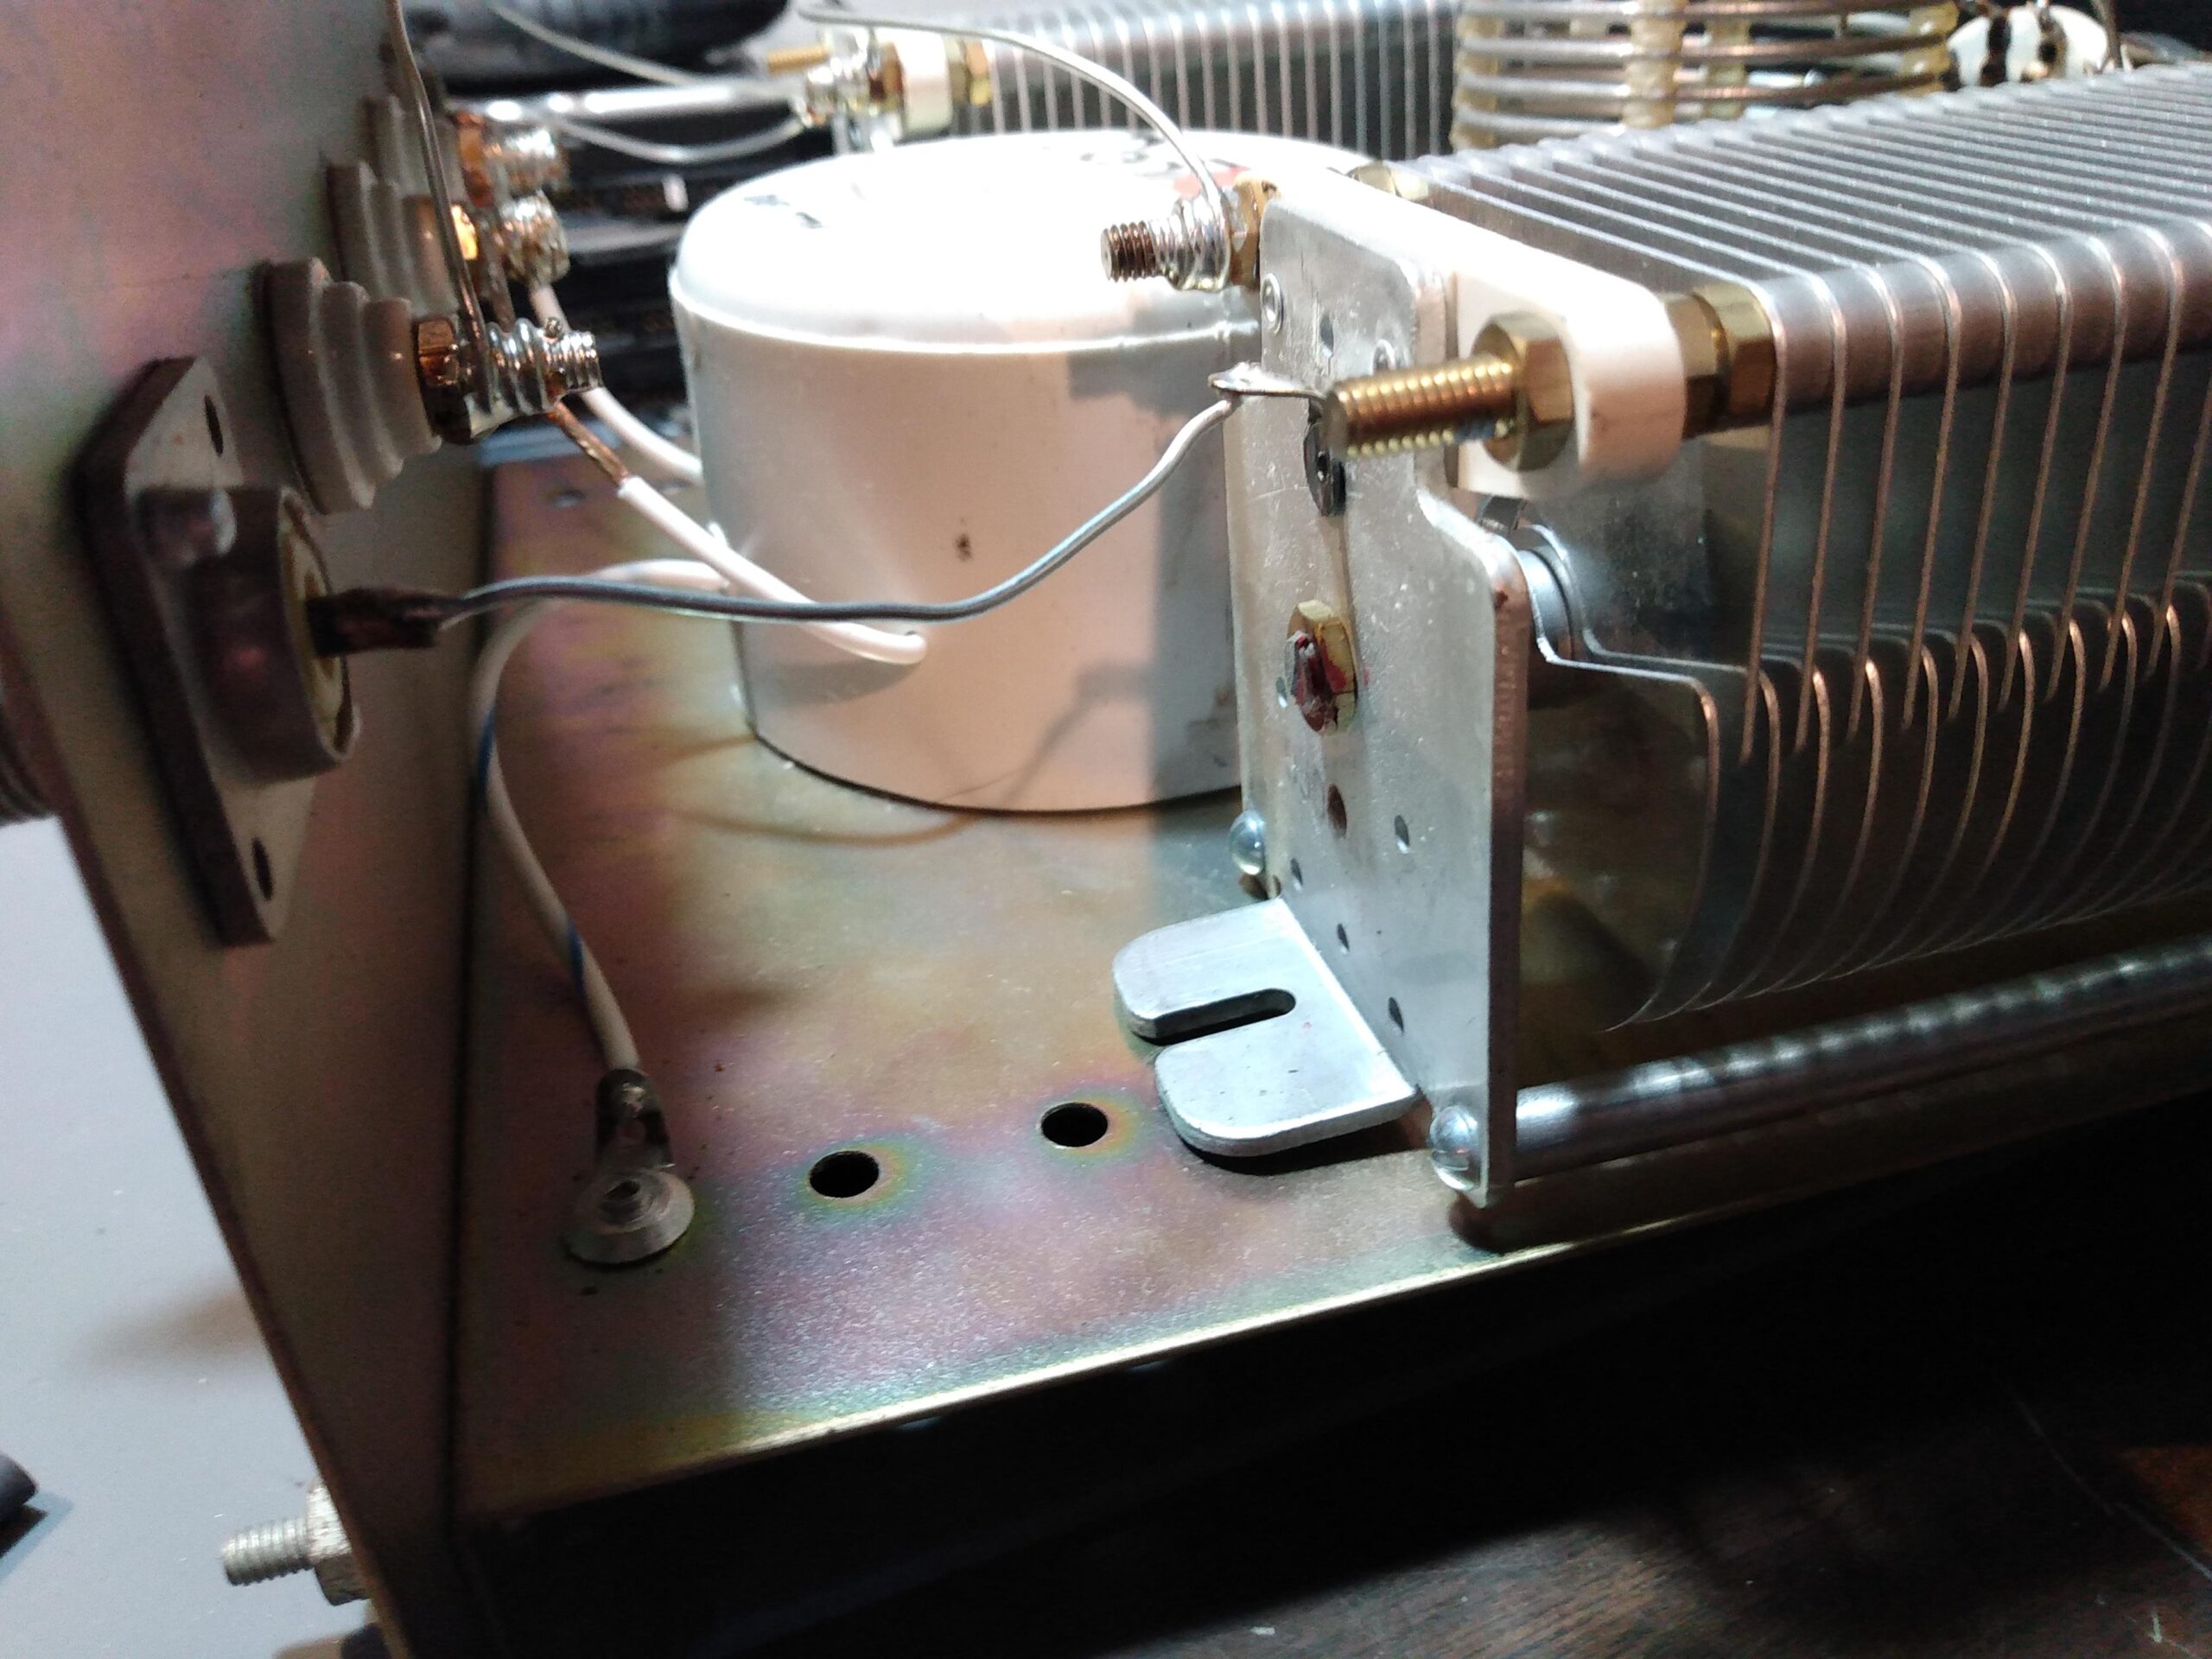
My first thought was to replace the mounting hardware with steel nuts and bolts, but my lizard brain said “there’s probably a reason they aren’t conductive,” and instinct was correct.  The schematic for the Dentron Super Tuner shows that the air capacitors are not grounded to the chassis, because doing so would cause a short in the antenna system.  I had to isolate them from the chassis or the tuner was useless.

The first hardware store I visited was pretty well-stocked, but apparently nobody knew that nylon hardware existed.  The second was better stocked and had replacement parts that would work.  I replaced those original dried and brittle nylon 8×32 nuts and bolts with slightly thicker 10×24 nylon parts.  It was a tighter fit, but the thicker hardware decreased the possibility that these components would break under typical shipping stresses.

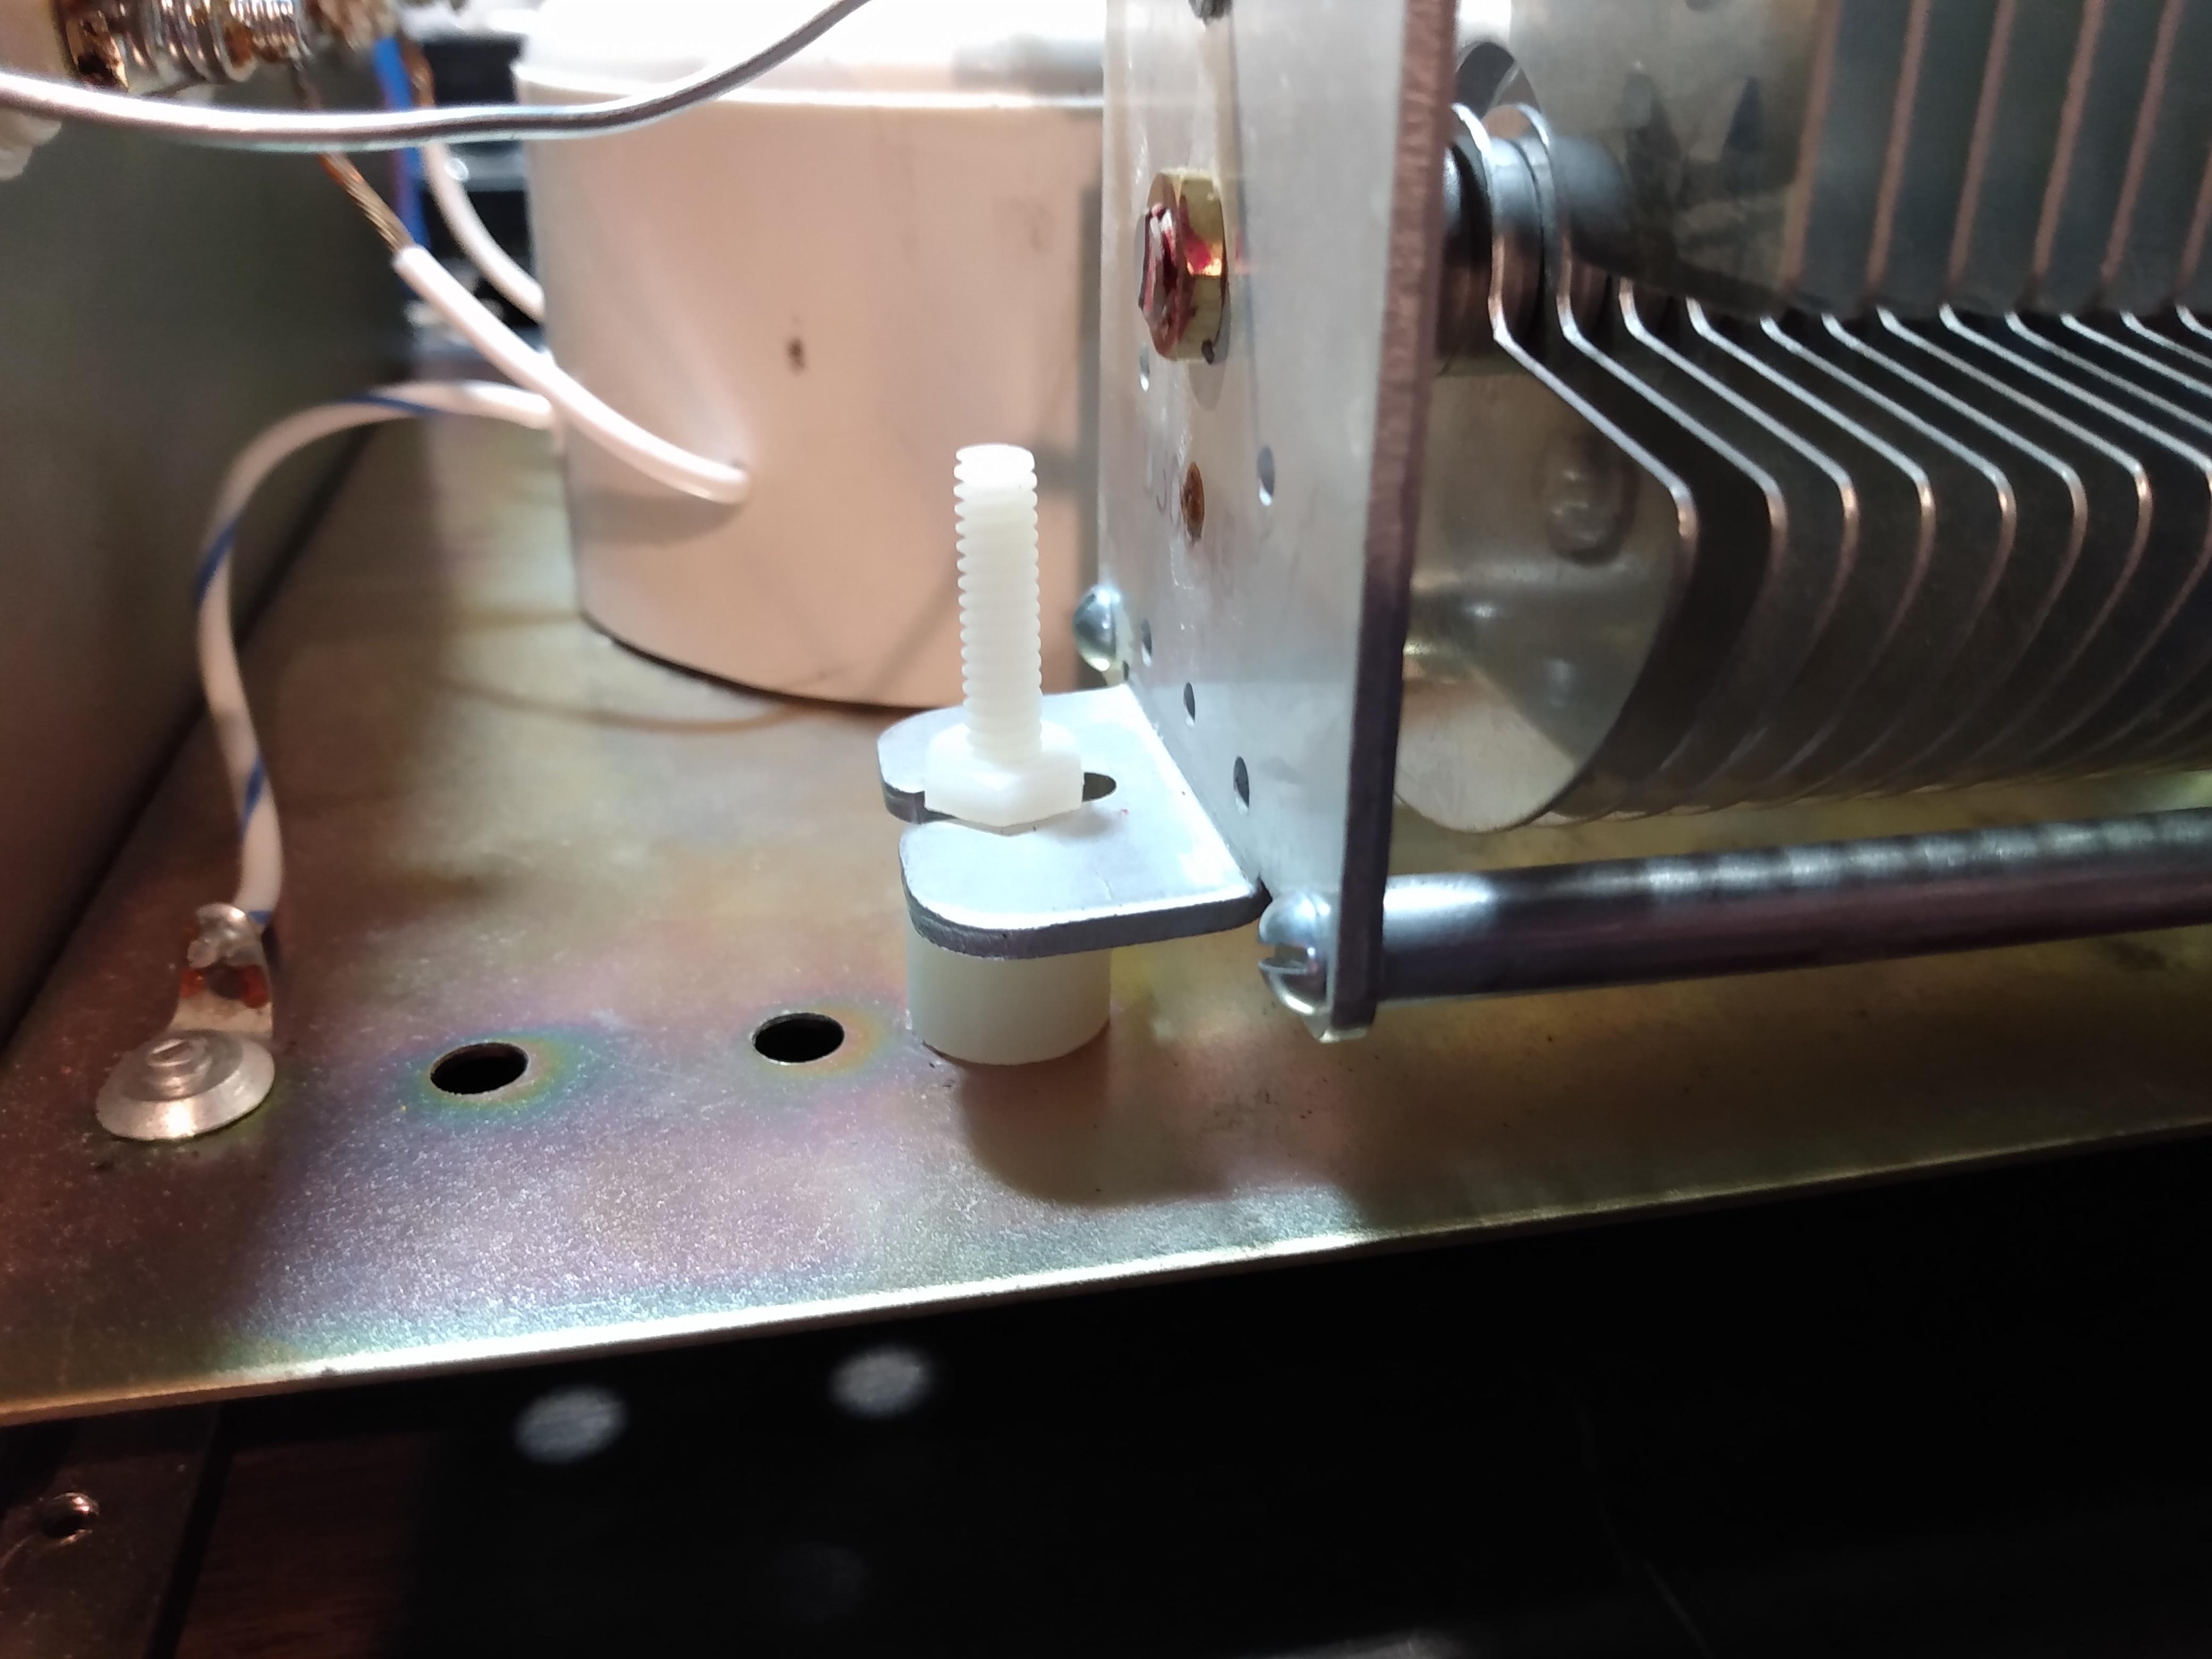
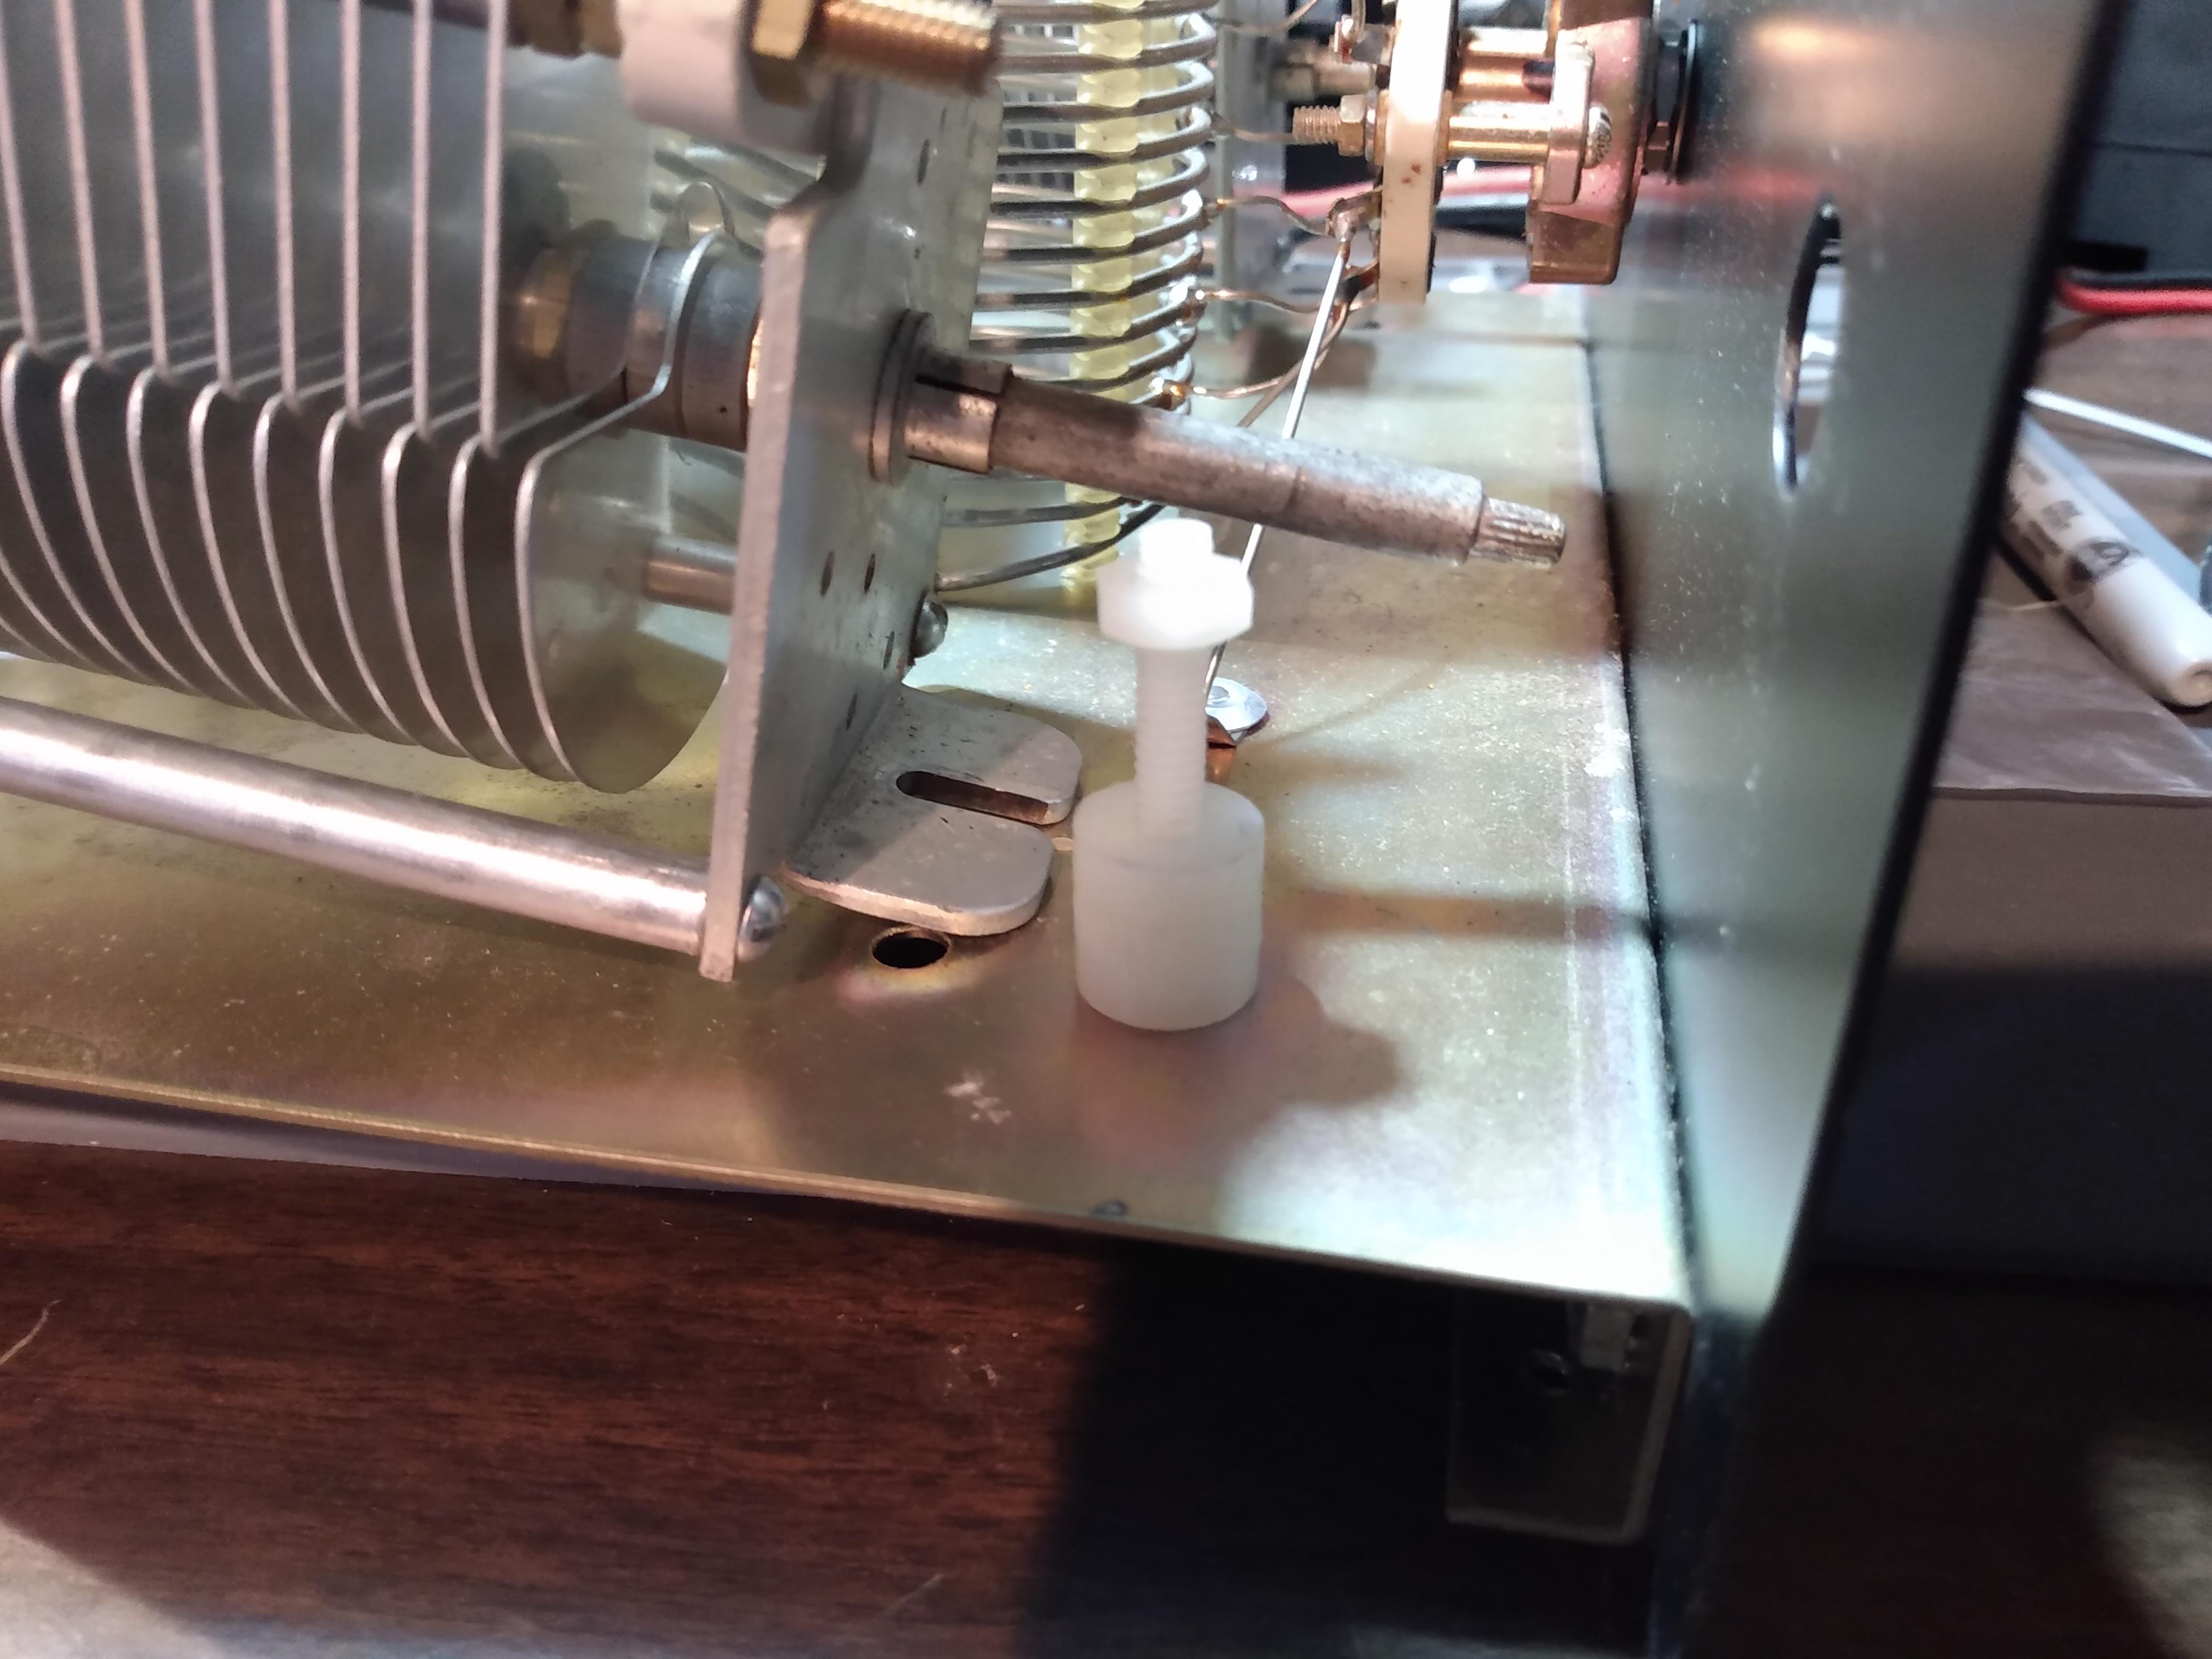
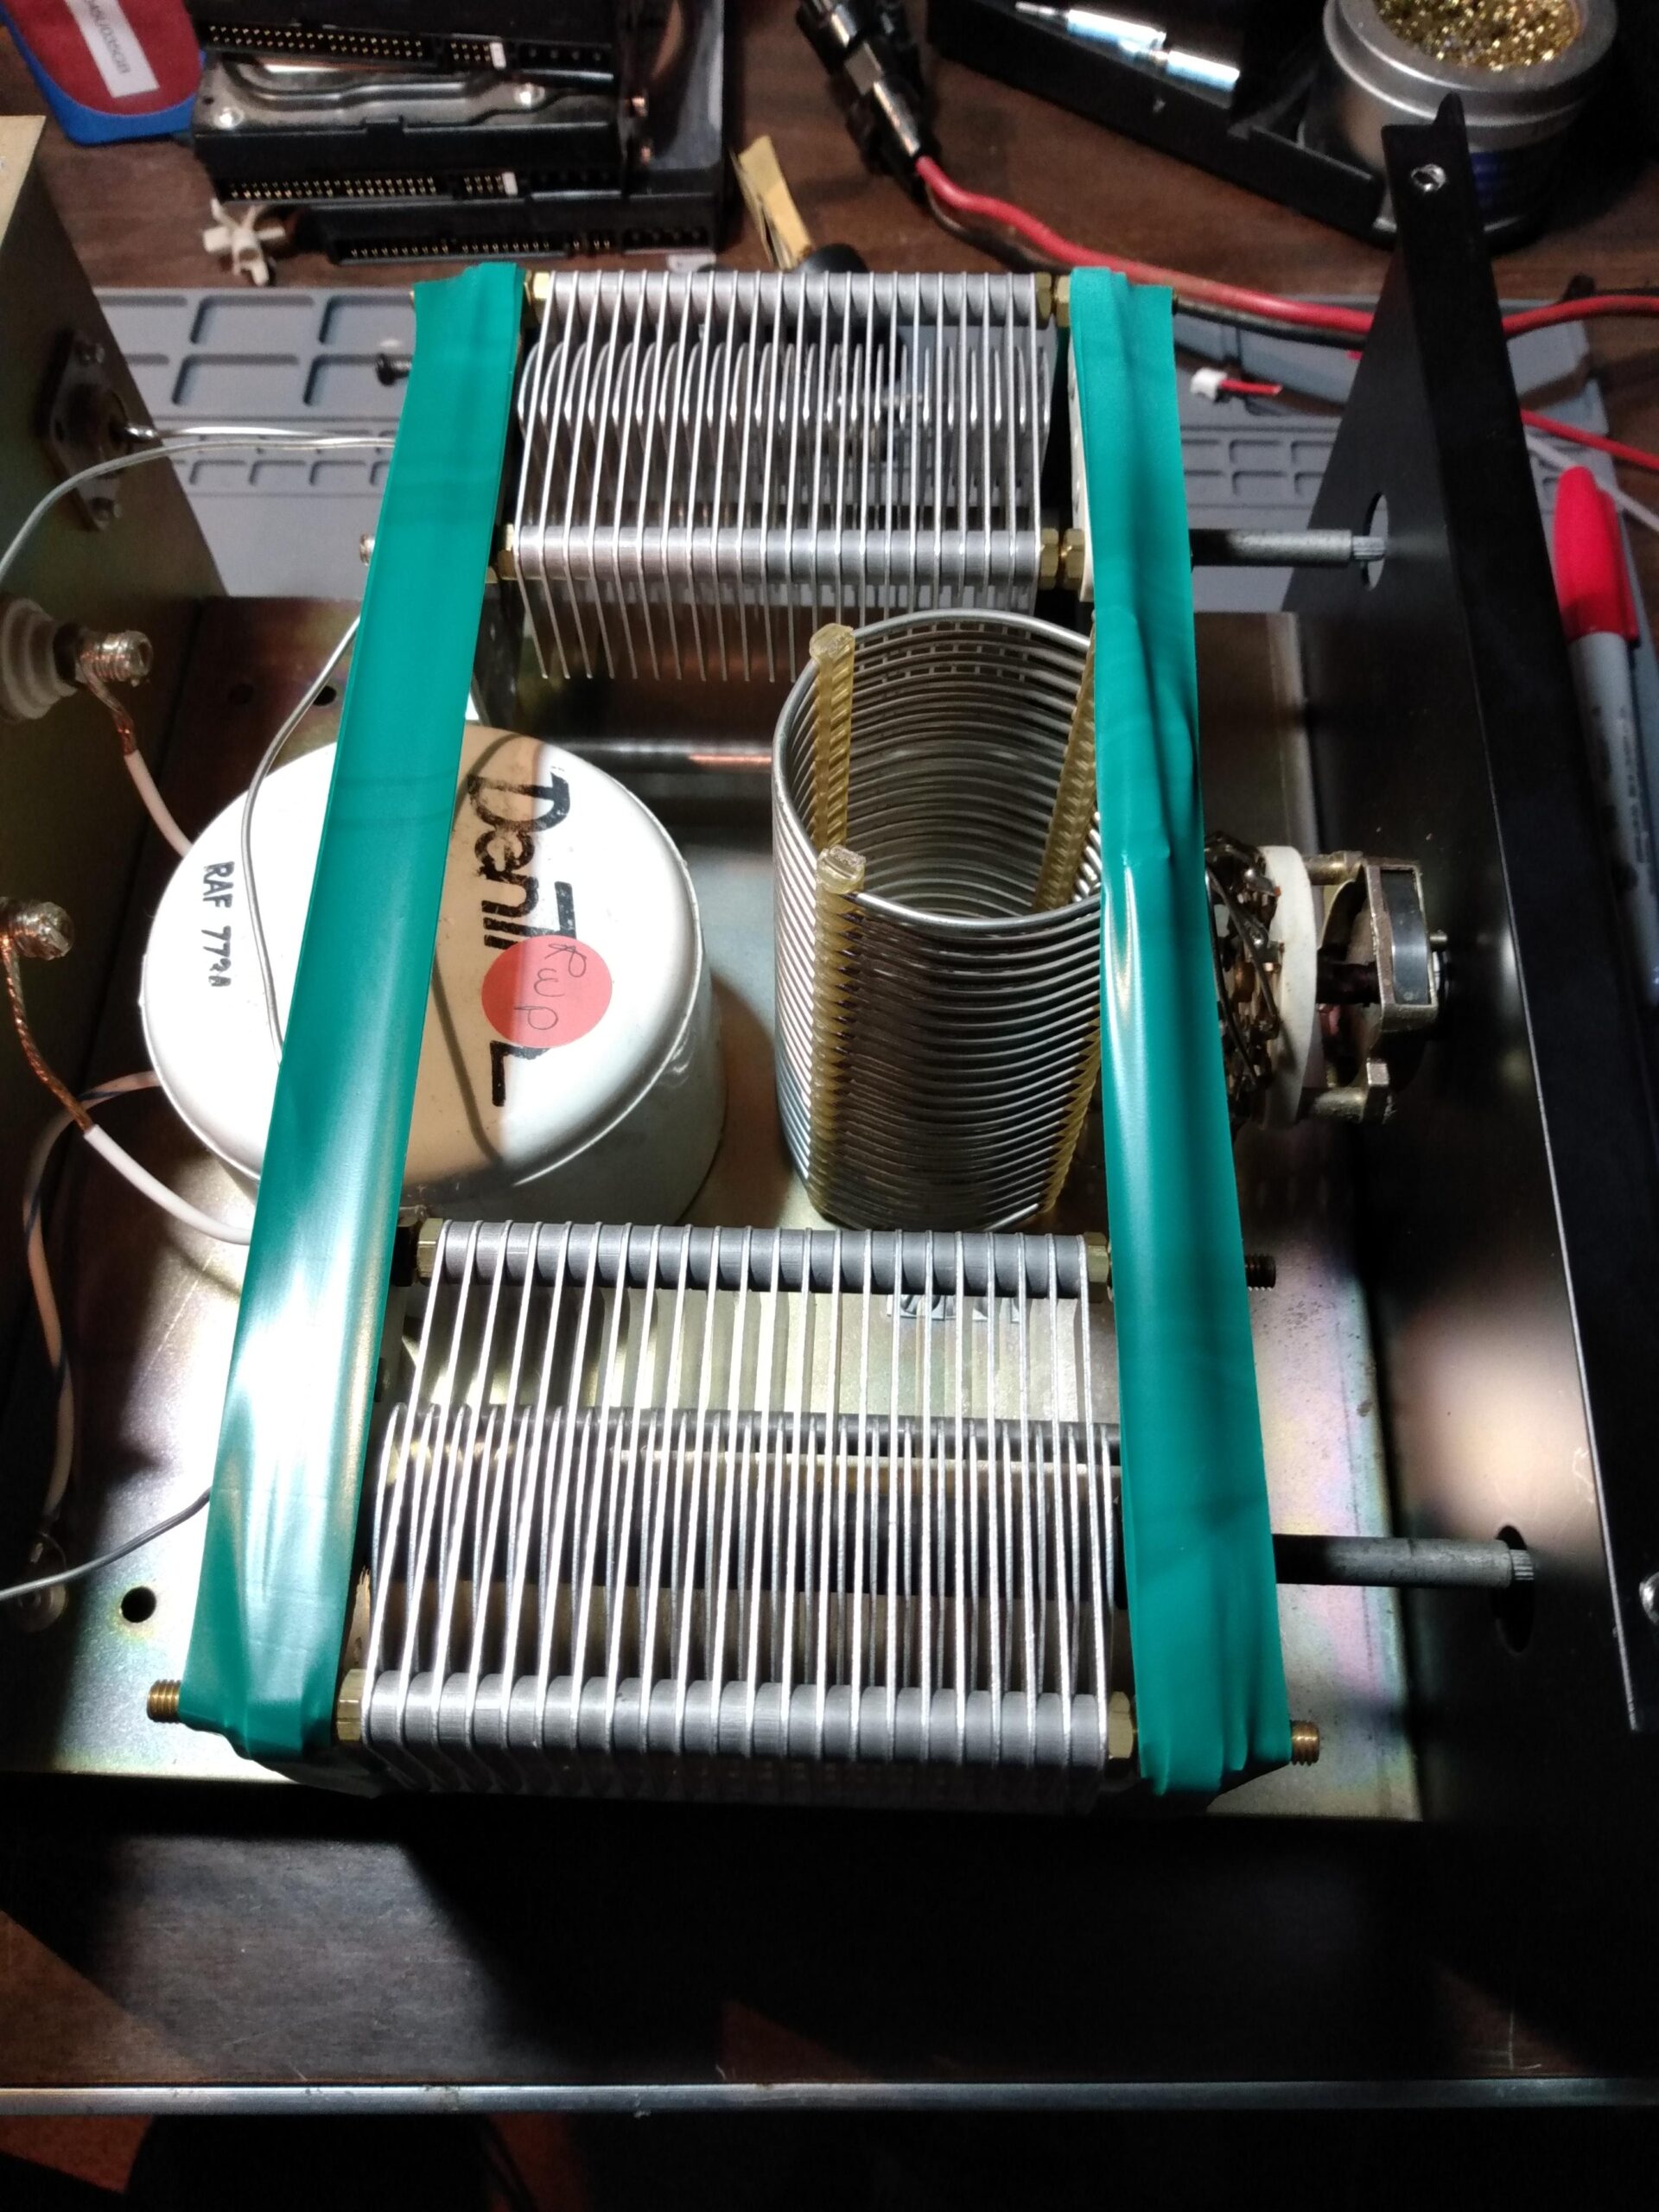
I couldn’t guarantee that the new parts wouldn’t break in transit, so I wrapped several courses of electrical tape around the air capacitors at each end to hold them to the chassis in case the bolts break again.  I didn’t really expect the electrical tape to do much of of anything in the event of trauma, but anything that might keep them from bouncing around inside the chassis seemed helpful.  I made sure to wrap the electrical tape so it does not interfere with the blades of the capacitors, so the buyer could leave it in place if they preferred.

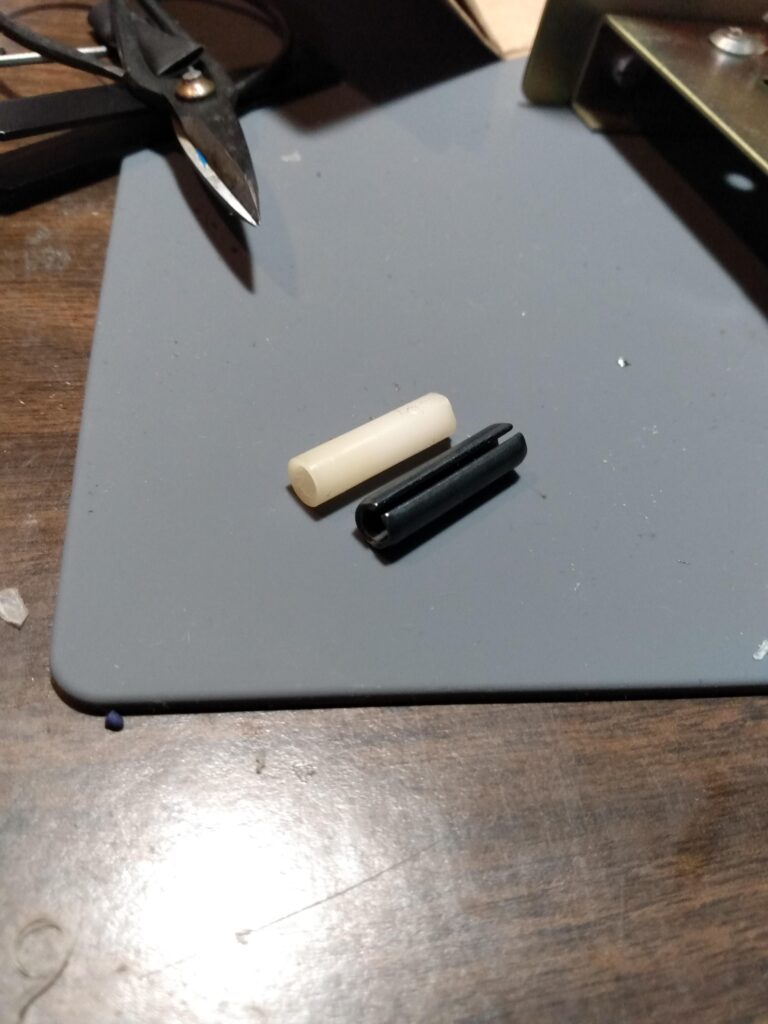
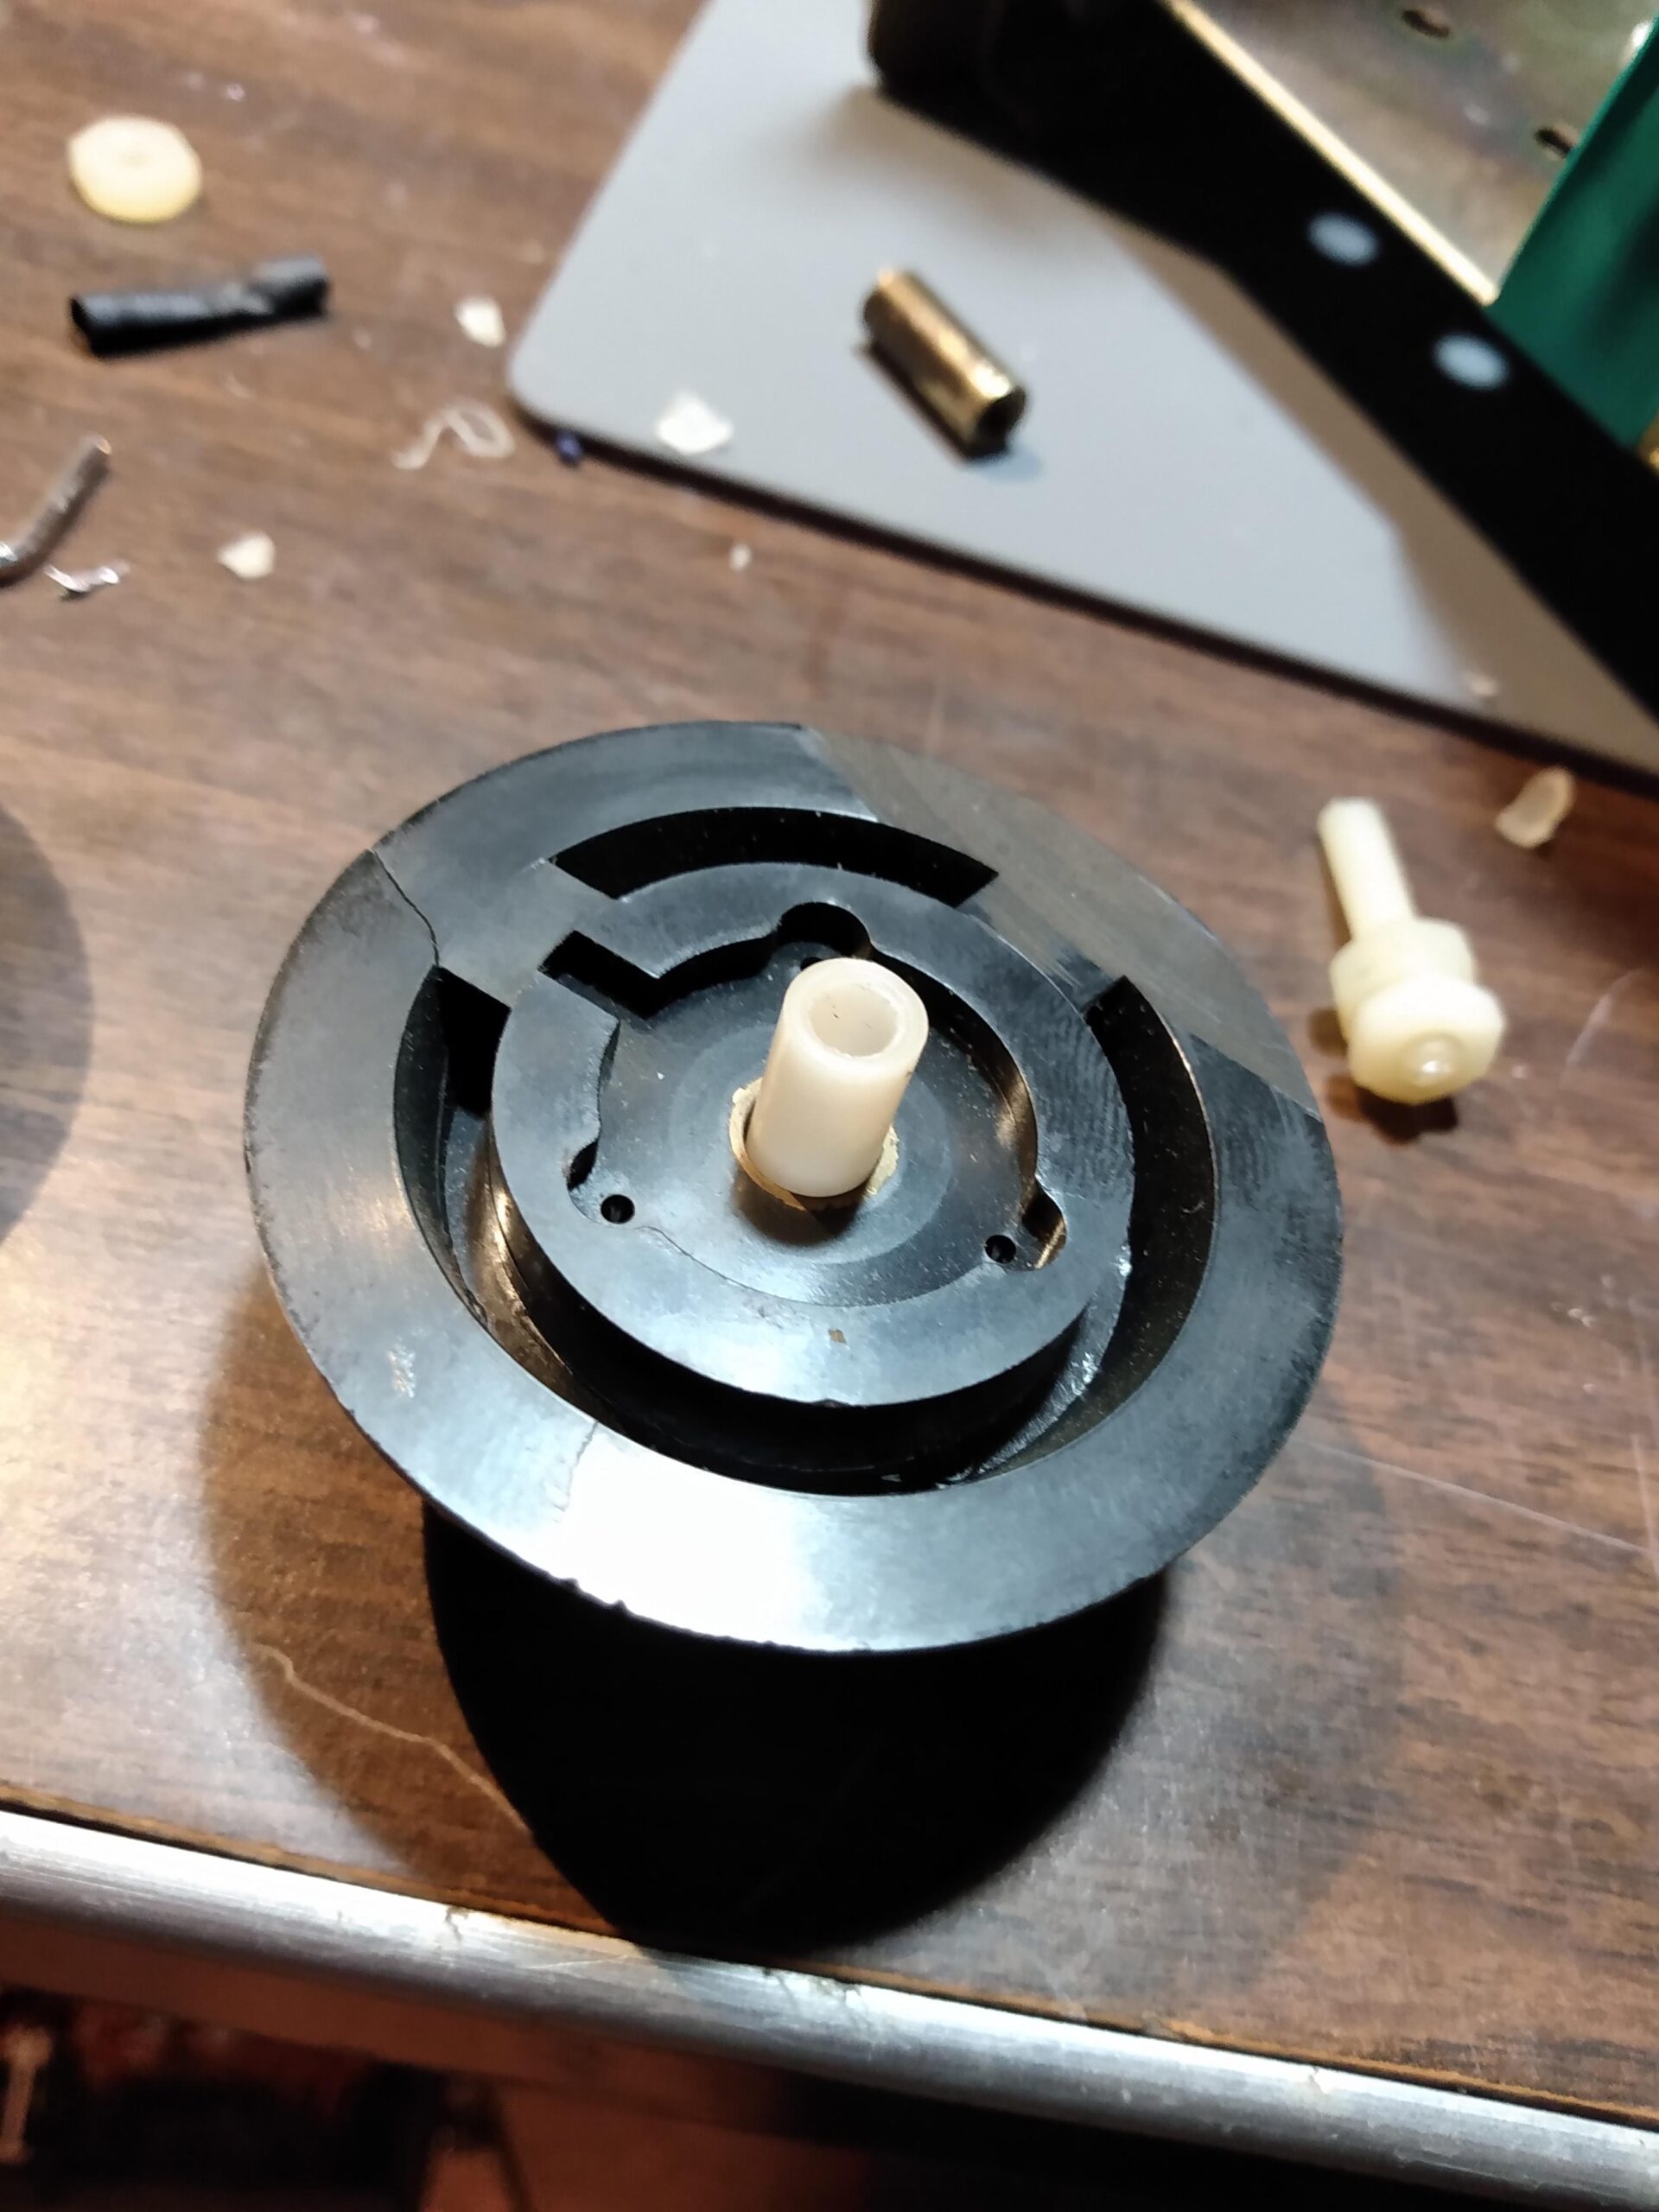
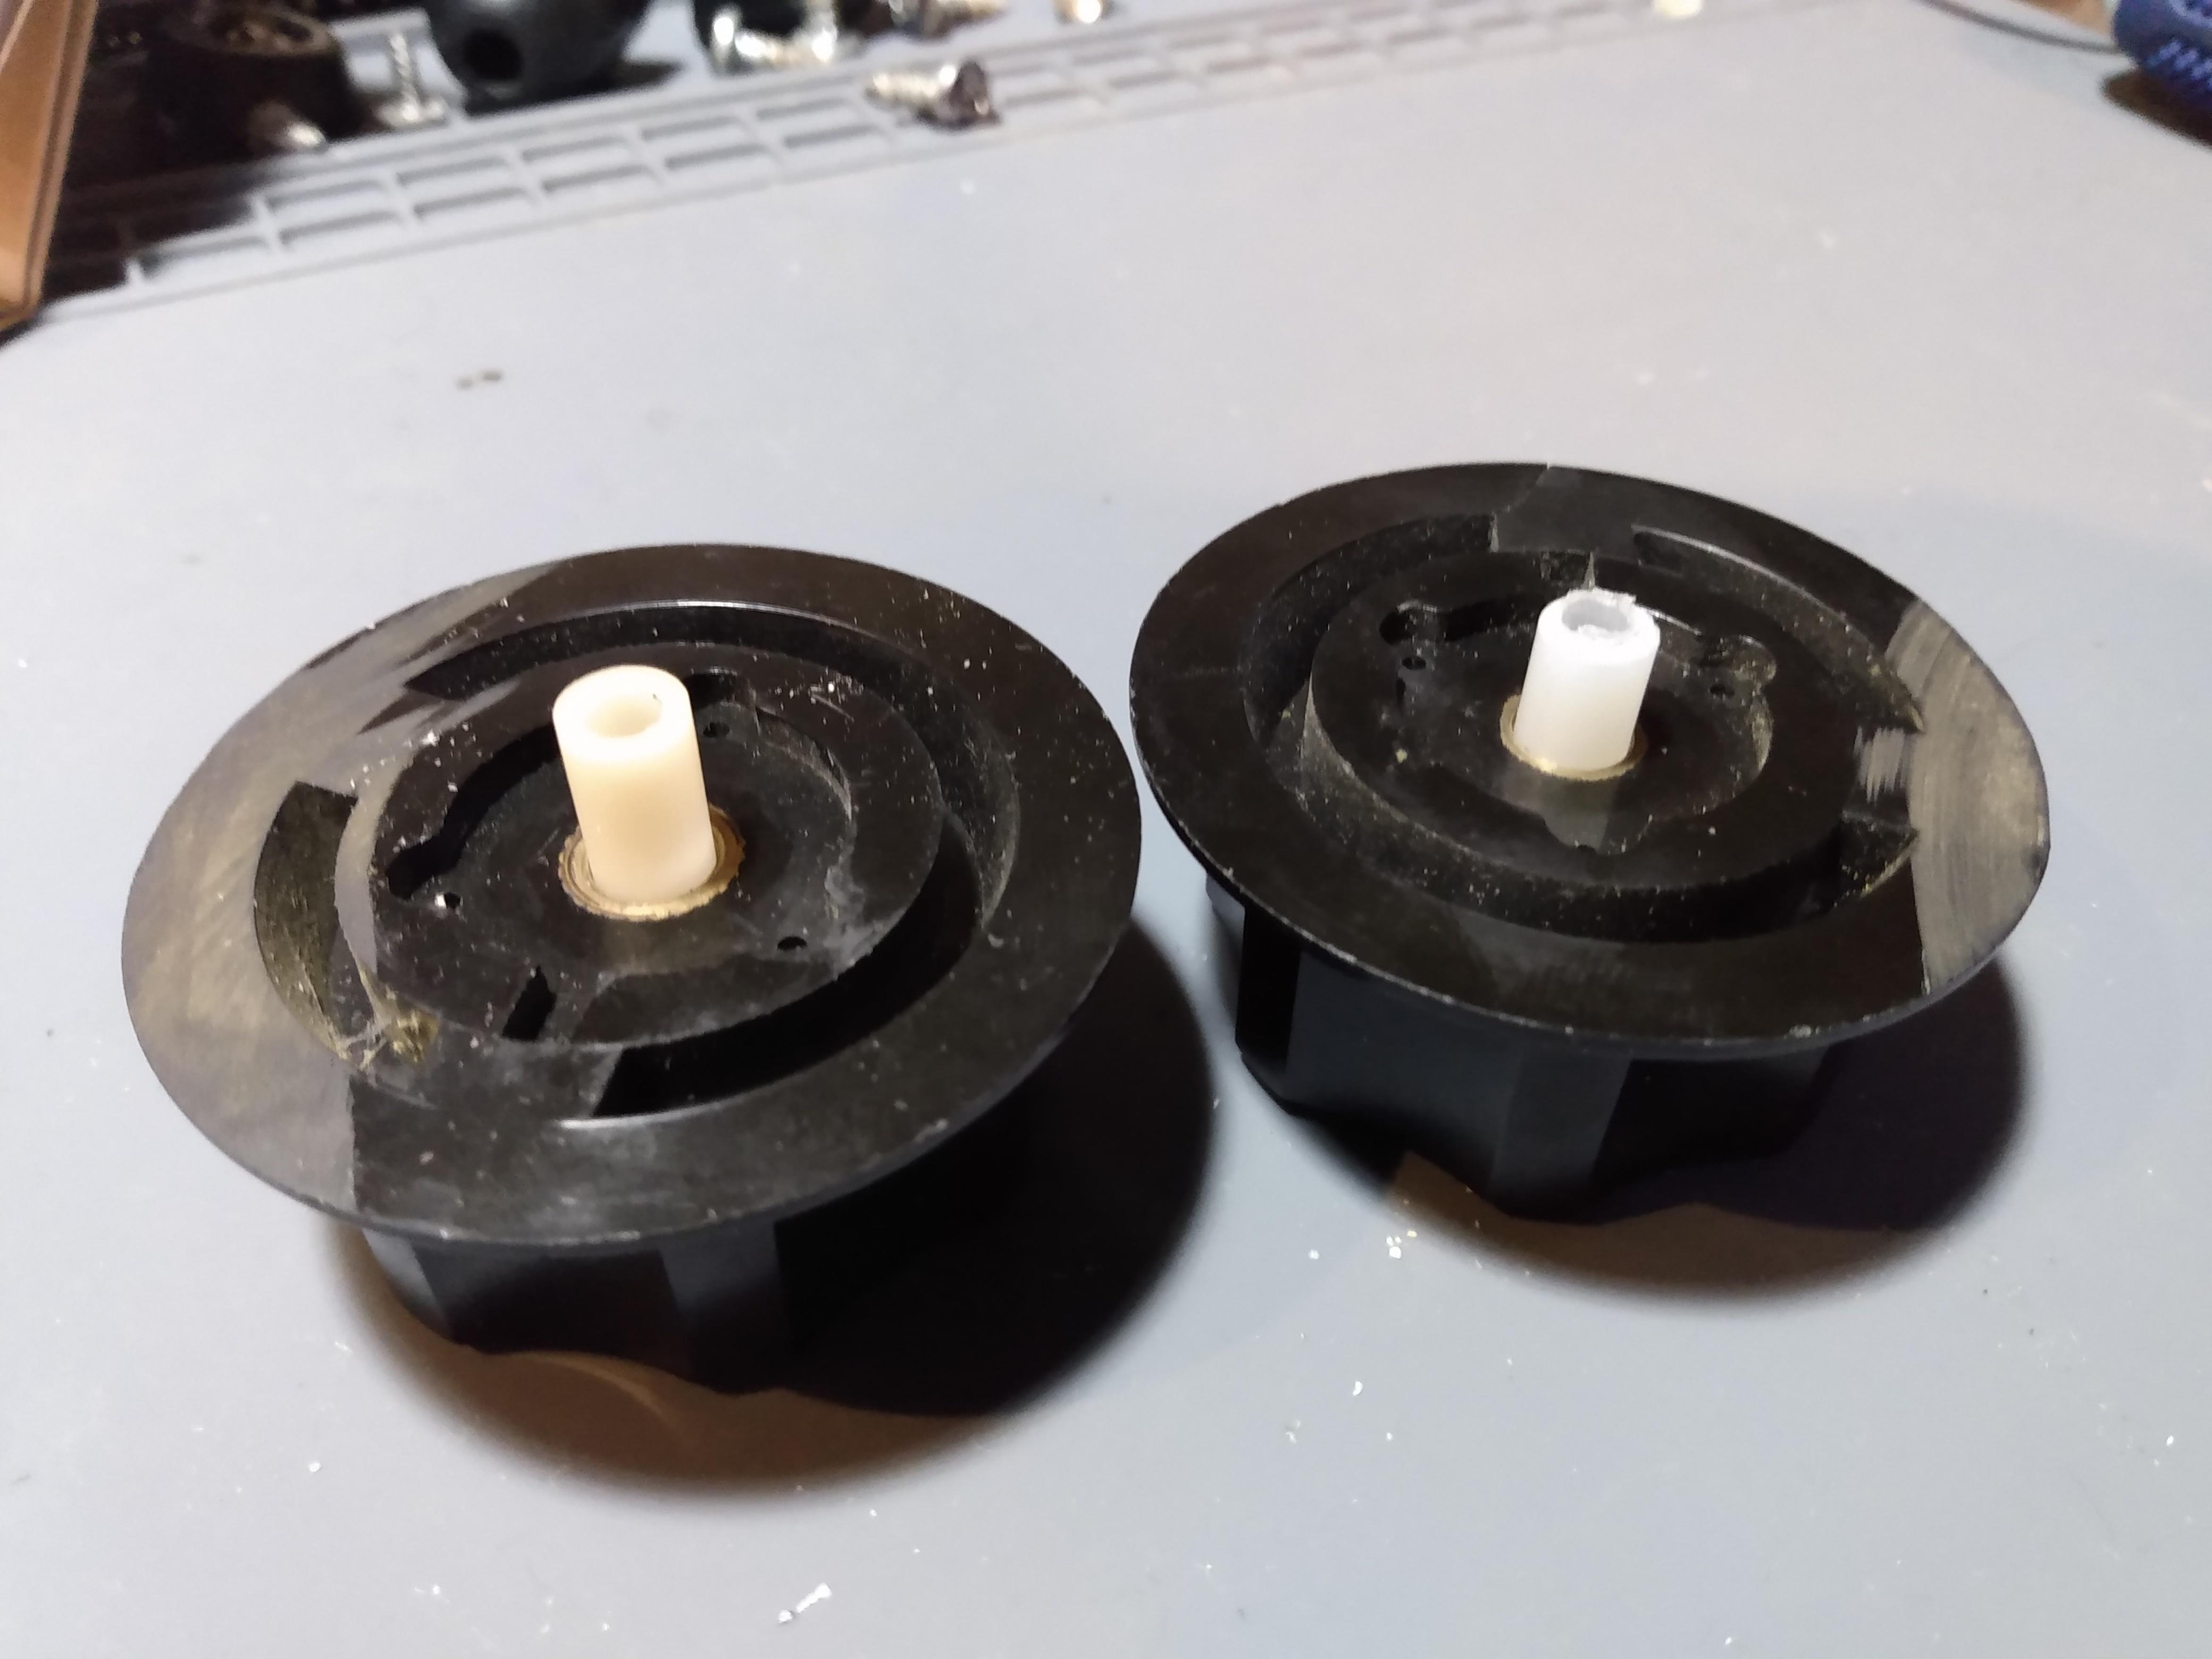
The other problem I uncovered was with one of the connections between the knob and the shaft of one of the air capacitors.  The knobs for ANTENNA matching and TRANSMITTER matching are connected to the shafts of the variable capacitors with a 1/4″ nylon dowel drilled to press-fit onto the capacitor shaft, which is then held by the knob via a worm screw.  Only one of these was present.  The other knob was held in place with a 1/4″ brass fitting which was cross-threaded onto the shaft of the capacitor (poorly).  If the tuner hadn’t been dropped, I wouldn’t have noticed this, but I suspect it would have come loose in transit.

Nylon nuts and bolts are hard enough to source, but 1/4″ nylon dowel is almost impossible to find in the hardware stores of Small Town, USA.  I found a 1/4″ x 1″ steel roll pin that I attempted to use as a replacement, but it didn’t quite work.  Luckily, friend and neighbor KC3MGN pulled some strings and was able to source a short piece of 1/4″ nylon dowel, which I then cut to length and drilled on one end to press fit onto the shaft of the capacitor.  The result wasn’t visually perfect, but I challenge anybody using the tuner to tell the difference.

This project raised my blood pressure.  But The Dentron Super Tuner is a better tuner after the damage than it was before, just because it brought these issues to my attention.  If not for my butterfingers, it probably would have arrived damaged anyway.  I suppose some things happen for a reason, and I hope the buyer gets a lot of use out of this tuner for many years to come.

Posted by kn3b in Amateur Radio, Electronics, 0 comments

Programming the Kenwood TK-780 for 2 Meter Amateur Radio

I made the trip to the York Hamfest on April 29 along with N3ZIO and KC3UYG, despite a dreary weather forecast and a 2.5 hour drive.  There was lots of rain, temperatures in the 40s, and a completely saturated grass field.  It took under a minute to completely soak our shoes, and by the end of the morning the trampled mud in the tailgating area rivaled that of Woodstock ’94.

But despite the weather and slightly diminished attendance, there were some deals buried among the totes of miscellaneous parts and rusted old gear.  One of these deals was the pair of Kenwood TK-780 VHF radios I found for $2 each.  Not knowing if they worked properly or even powered on, I purchased them.  I may never financially recover from this…

The form factor of the TK-780 is familiar to me because I have some experience with the TK-981, which is a 900MHZ FM commercial radio that is commonly repurposed for ham bands.  The TK-780 is a commercial radio an identical form factor and button layout to the TK-981, but with VHF capabilities, so I bet on the programming procedure being more or less the same.

Upon my return home in the mid-afternoon, I located my Kenwood power cable and tested the first TK-780 for power.  All systems normal!  The second TK-780 had Powerpole connectors instead of a Kenwood power adapter, which was fine with me, and it was in this moment that I realized that I always had the option to do this to my radios, but it never occurred to me to do so.  The second unit also powered on, so on to the next step.

A common question asked when repurposing the Kenwood TK series of radios is: Can they be programmed with Chrip? Unfortunately, that would be too easy and the answer is no.  There are a handful of applications released by Kenwood that can be used to program their commercial radios, and the specific application you would use depends on your model of radio.  I did a few minutes of minimal research and found that the TK-780 could be programmed with the KPG-49D software that I used for the TK-981, and it utilized the same Kenwood KM6 programming cable.  Thank Hiram Percy Maxim for smiling upon me.

Something to keep in mind when dealing with these radios is that they are commercial radios first and foremost, with the capability to be repurposed for amateur radio use.  As such, they have certain quirks and will lack some features you’d otherwise expect out of an amateur radio.  In addition to this, it’s expected that these radios are configured and programmed for use in commercial applications, and the software used to program them assumes you’re doing so.

That being said, I like how the KPG-49D software works with these radios.  I’m told it’s not possible to brick a Kenwood TK radio, which is reassuring.  And I was able to read the configurations from each radio without even specifying what model it was, because the KPG-49D software detects it automatically. The downloaded configurations confirmed to me that the TK-780 was virtually identical to the TK-981.  I saved the known good configuration and channel list, and set out to make a new config that I could test on my local repeater.

When trying to write a config to the radio that contains frequencies in the 2m ham band, I was getting a warning that some frequencies were outside of the capabilities of the radio.  Under the Model menu, I was given an option for frequency ranges of 146-174 MHz or 136-162 MHz.  This warning did not appear during programming with the frequency range set to 136-162 MHz.  I do not know if this changes anything within the radio itself, it just stopped the error from appearing during programming.

The bulk of the configurable options for 2 meter amateur use are going to be found in the Edit menu under the Channel Information, Optional Features, and Key Assignment menus.

Channel Information is easy enough to figure out, it very closely represents the channel list you’d see in Chrip: RX/TX frequencies, Decode/Encode tone squelch, Channel Name, Wide/Narrow FM, and TX Power.  I encountered a head-scratcher with the Channel Name setting, which leads me to the Optional Features menu.

In the Optional Features menu under the Optional Features 1 tab, there is a field for Group Name text length.  Setting this to anything other than None caused my radios to not show the channel name at all, and instead simply display zone and channel numbers.  Not sure why this is the case, but setting it to None and setting Display Character to Channel Name caused my channel names to display correctly.  I also set my Sub LCD Display to Channel Number, because knowing which numerical channel you were on seemed to make sense to me. The only other option on this menu that I felt the need to change was the Power on Text, which I set to my callsign, because I could.

The Key Assignment menu allows some minor UI changes to be made in the form of button function reassignment, but some of these options may not be permitted depending on the firmware version of the radio.  I was unable to set the Home Channel option on mine without a critical error.  I haven’t made many other changes here yet, since the basic functions of monitor/volume/channel selection are already enabled by default.

Before the configuration can be written to the radio, the COM port has to be set via the Setup > Communication Port menu.  The KPG-49D software is unlike a lot of other radio programming software in that it does not need to be restarted if you forgot to plug the cable in first.  Simply plug in cable, wait a few seconds, and select the newly enabled COM Port.

Time to program the radio via Program > Write Data to Radio.  It doesn’t take more than a few seconds, and the radio reboots afterward.  Normally this would be the last step and you’d be free to use your radio, except I ran into a problem that stumped me for about an hour.

With an antenna connected, it seemed to be receiving static constantly.  It would also receive my repeater traffic whenever I keyed up from another radio, which is normal, but then it would just go back to receiving static after the repeater transmission ended (most of the time, but not every time).  I was using a temporary magmount antenna on my office whiteboard, so I expect it was receiving a ton of RF interference from something nearby.  I tried to find a squelch option, but there was no squelch option to be found, either via the buttons on the radio or via the Optional Features menu!

There is actually a reason for this.  In an FM commercial radio setting, there are very few instances where an employee or emergency responder would be required to modify squelch settings, so this isn’t an option either via a radio menu or front panel button.  This led me to Test Mode under the Program menu.  In the KPG-49D software, Test Mode allows us to make a live direct connection to the radio to change system options, one of which is squelch level.  I adjusted it high enough that it would break for repeater traffic, but not for RFI and the problem seems to be solved.

You might ask, “I thought you had TX/RX tones set, why wouldn’t that keep the radio squelch from tripping due to RFI?”  The answer is: I don’t know, this is just how I fixed the problem.

As is tradition with my radio projects, solving one problem just means there’s another problem to deal with, and in this case it was during transmit.  I could receive repeater traffic just fine, quite well in fact.  However, when I tried to transmit to my local repeater via the TK-780, I could key the repeater but no audio was transmitted with any of the Kenwood KMC-27A microphones that worked with my TK-981.  Different mic pinout maybe?  I didn’t want to get that into it, and opted instead to order a newer 8 pin Kenwood KMC-32 DTMF microphone for $17 and hope for the best.

I made the right choice.  As soon as the mic arrived I plugged it in and made a QSO on the KB3DXU 145.330 repeater with KC3AHR.  I received a good audio report and no complaints about signal on either of the two radios set to low power.

I guess the moral of this story is to buy $2 commercial radios if you already have the programming cable and software.  Even if you have to make those investments, a used TK-780 is a perfectly acceptable option when you consider the fact that a new amateur VHF mobile radio from one of the Big 3 amateur radio manufacturers is still well over $100.

Posted by kn3b in Amateur Radio, 0 comments